Project:
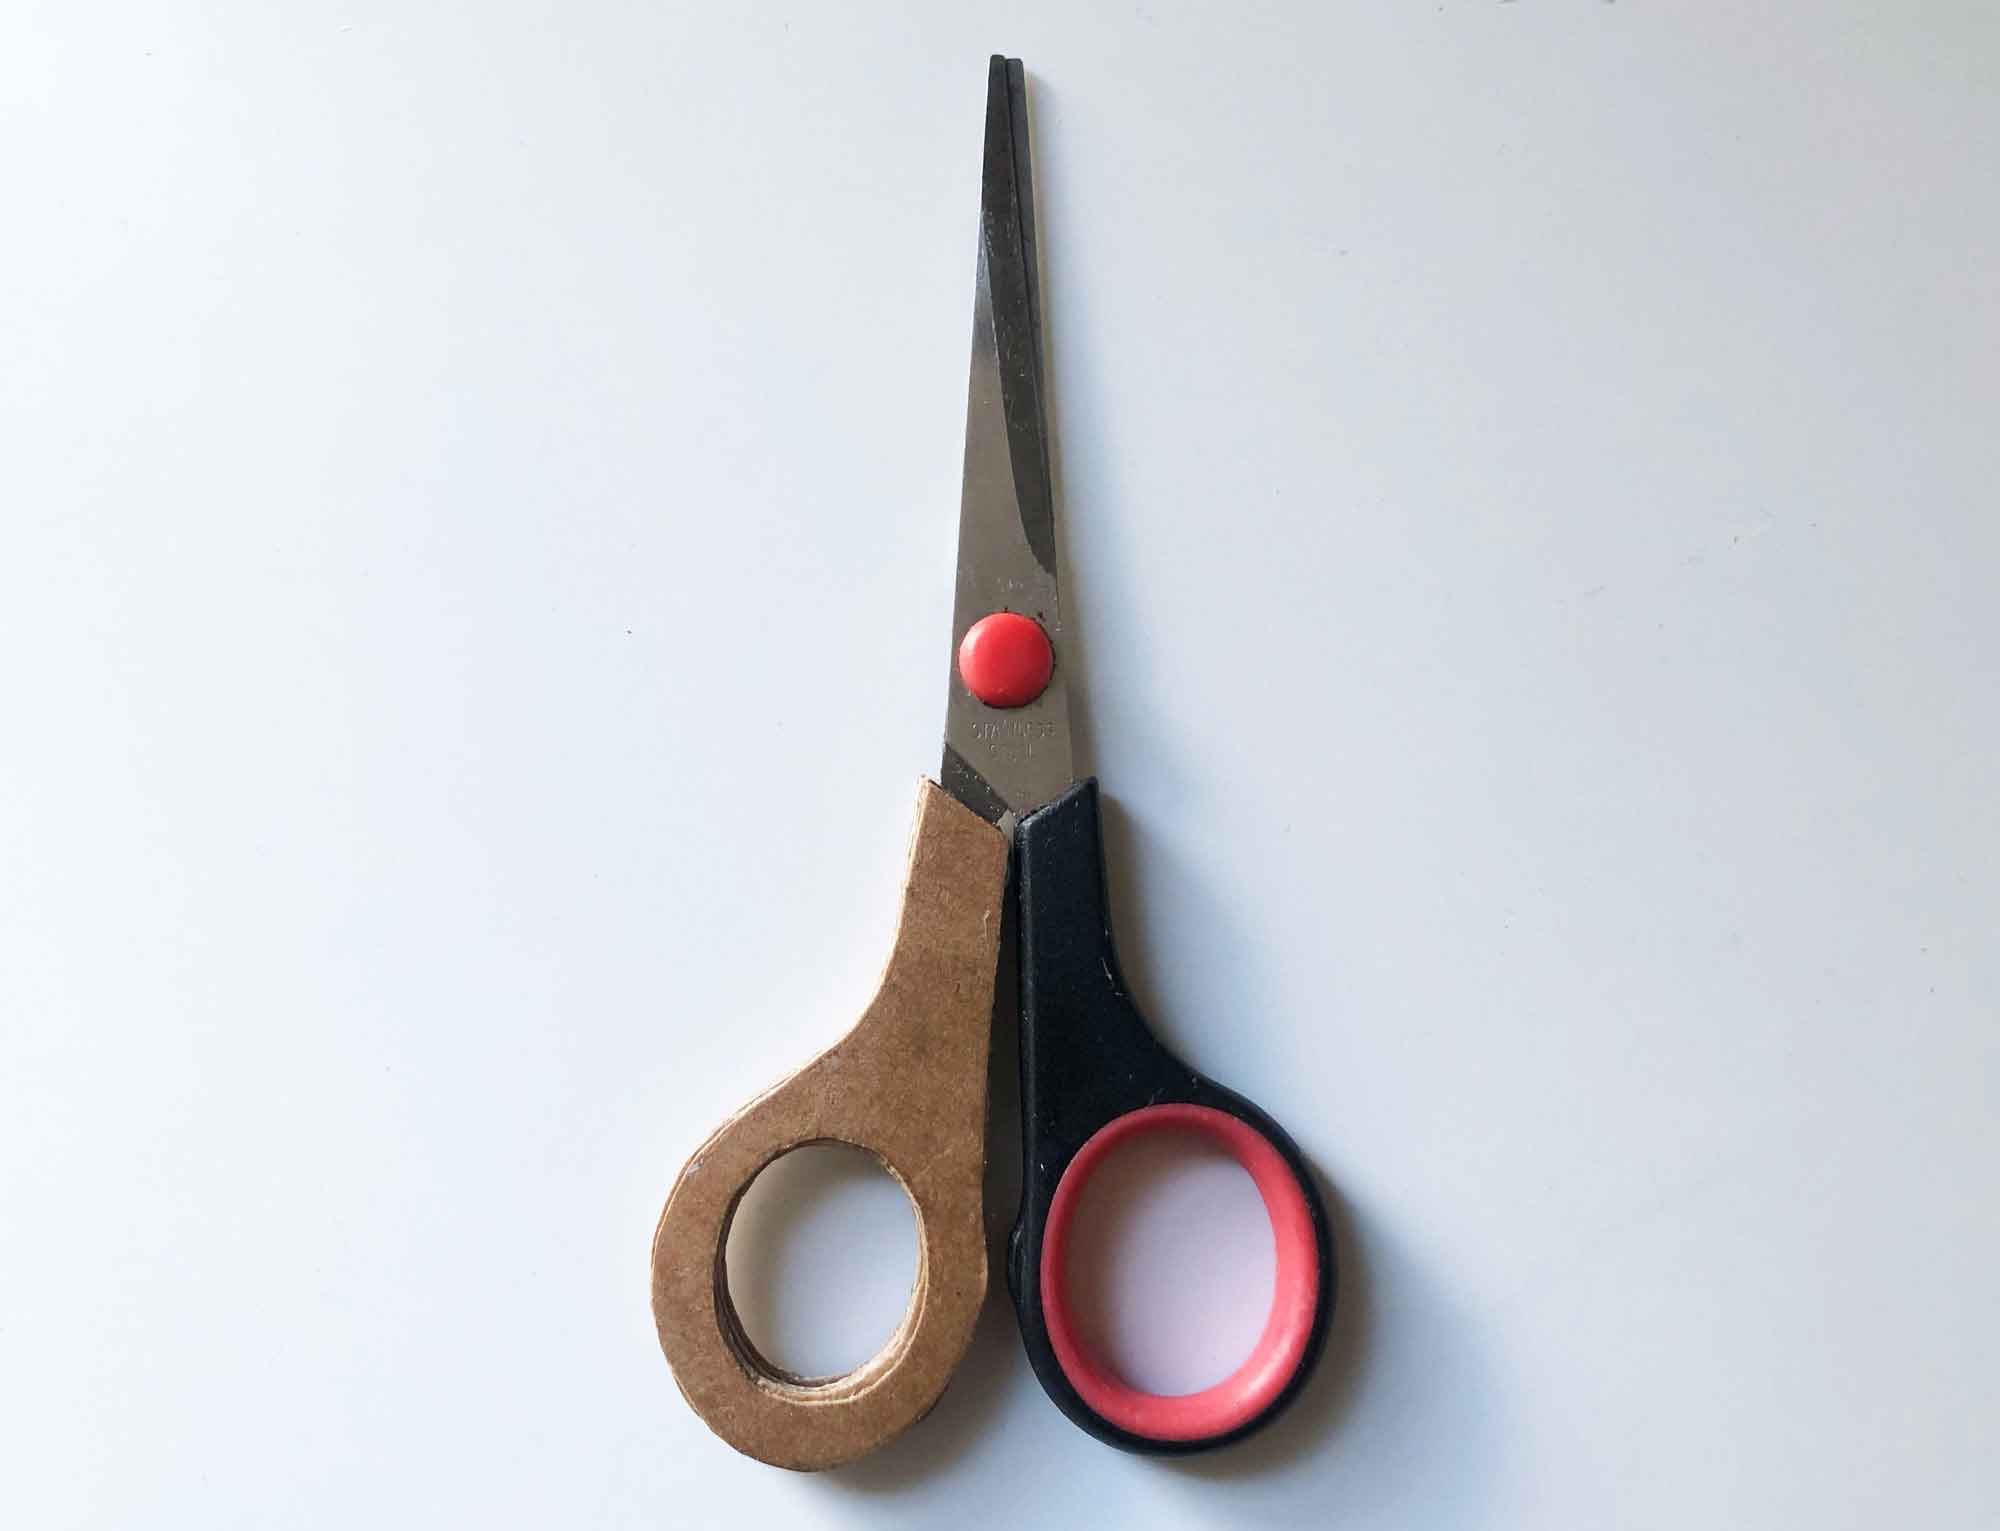
This is not the usual project I would put up but it is the sort I've been doing over the years at home and wanted to document it showing my process, thoughts and perhaps could be useful for someone. This started when I decided it was too much trouble to grab a pair of shears and tried to cut a branch of rosemary with a small pair of scissors that were close to hand. and the handle evitably broke. Now these were very cheap scissors that I had for year, but somehow they were good at cutting and being a person that doesn't like to throw things out, I hunted for ways to repair them. I found great ideas, using 3D printers, carving out of wood, laser cutting, but none of those I had access to easily. There is a 3D printer at my work place but the thought of figuring out how to use, setting it up, and melted plastic was not appealing.
Process:
This started when I decided it was too much trouble to grab a pair of shears and tried to cut a branch of rosemary with a small pair of scissors that were close to hand. and the handle evitably broke.
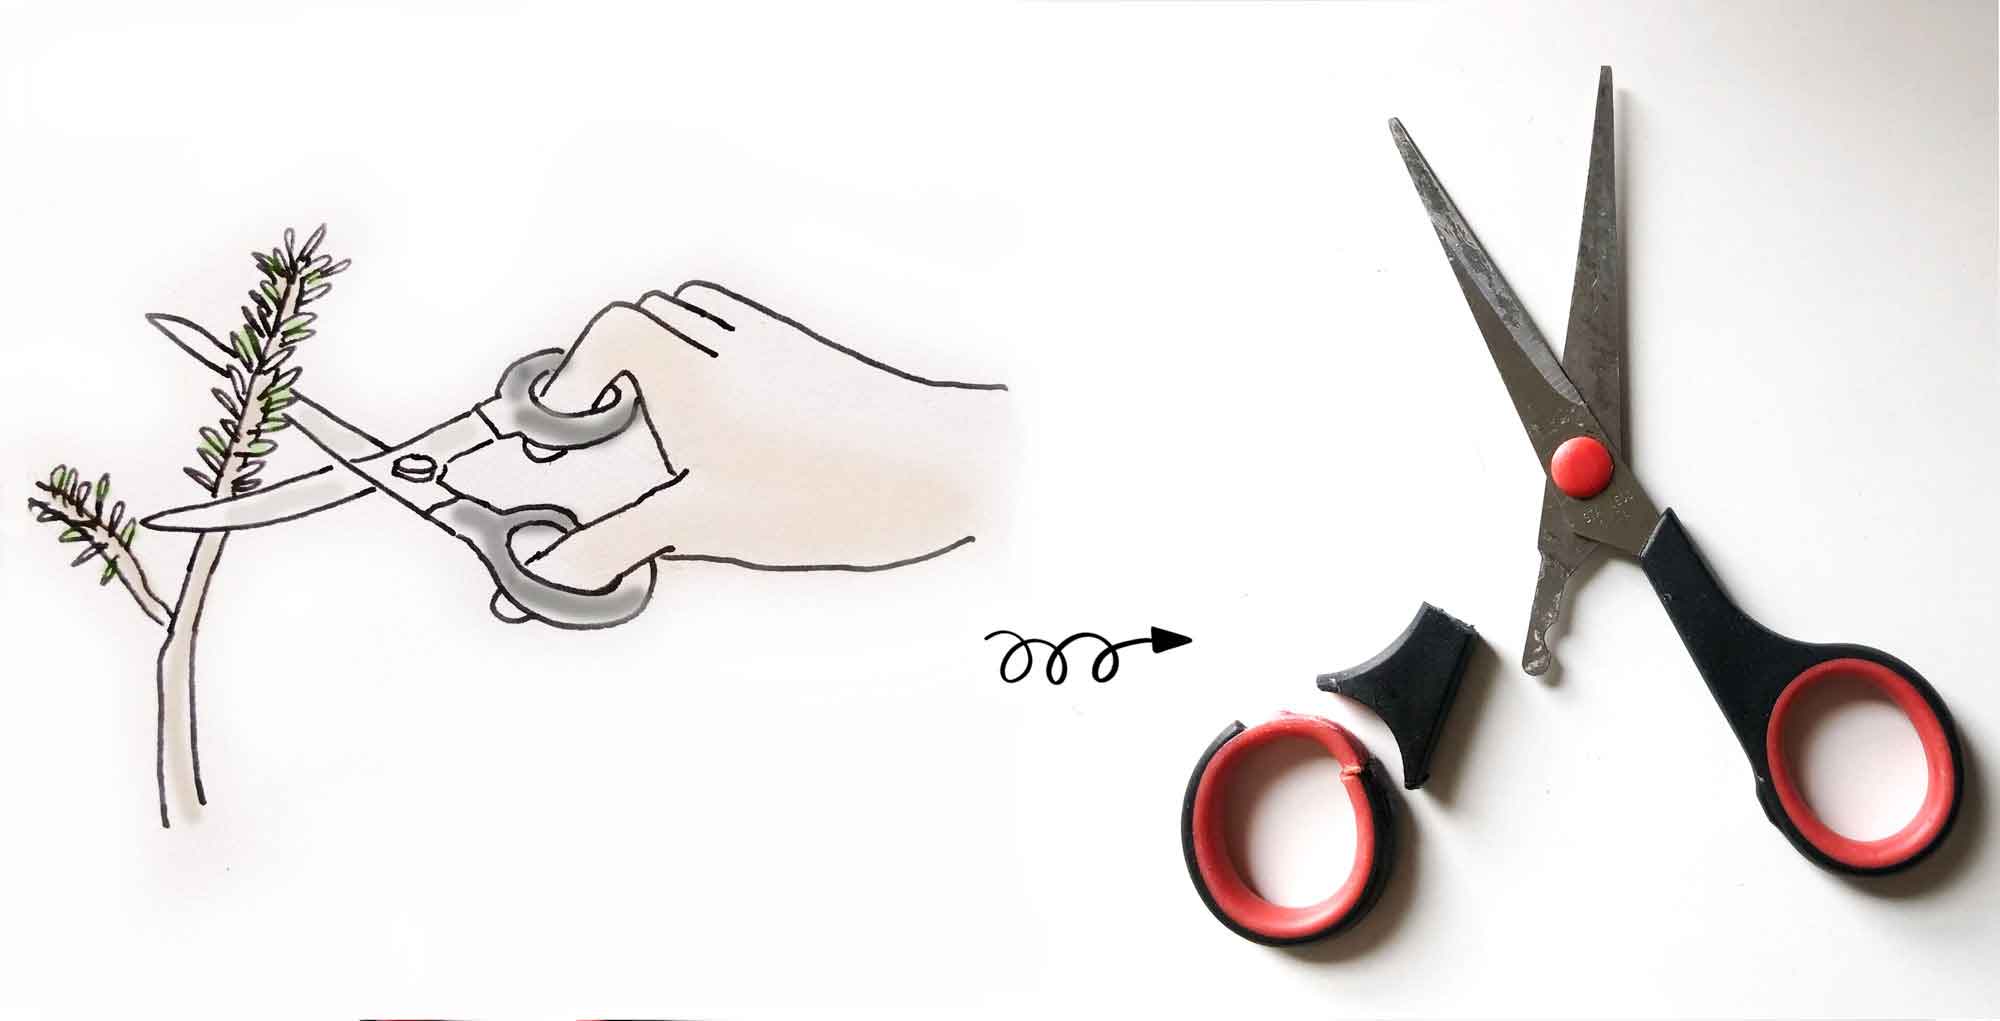
Now these were very cheap scissors that I had for years, and not the prettiest of types either, but somehow they were good at cutting and being a person that doesn't like to throw things out, I hunted for ways to repair them. I found great ideas, using 3D printers, carving out of wood, laser cutting, but none of those I had access to easily. There is a 3D printer at my work place but the thought of figuring out how to use it, setting it up, and having melted plastic was not appealing.
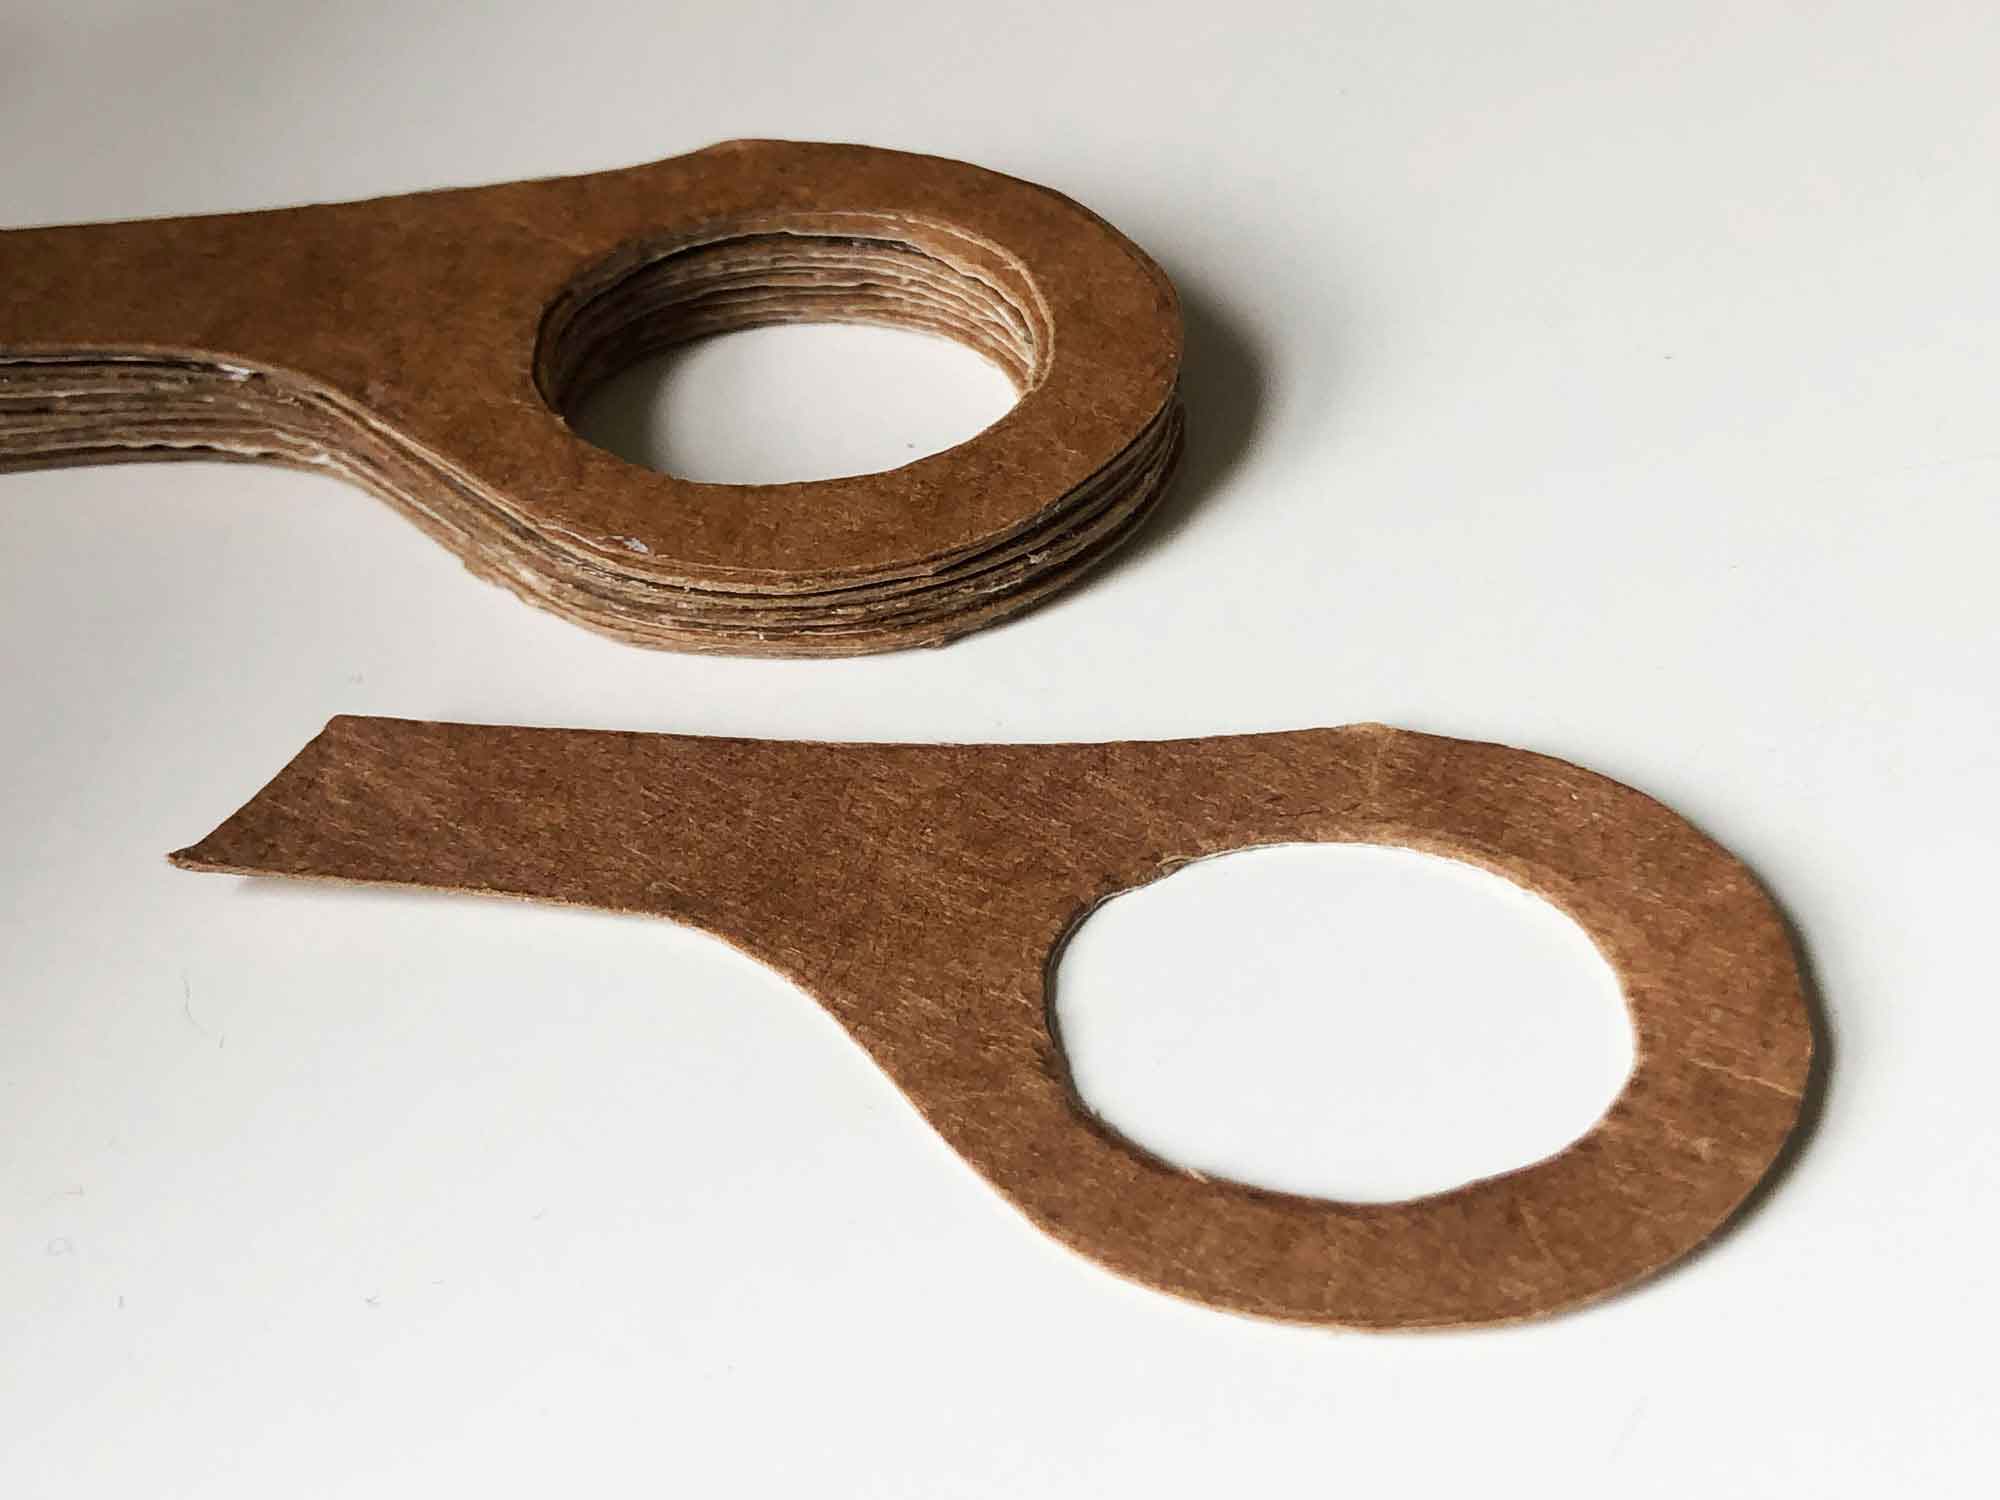
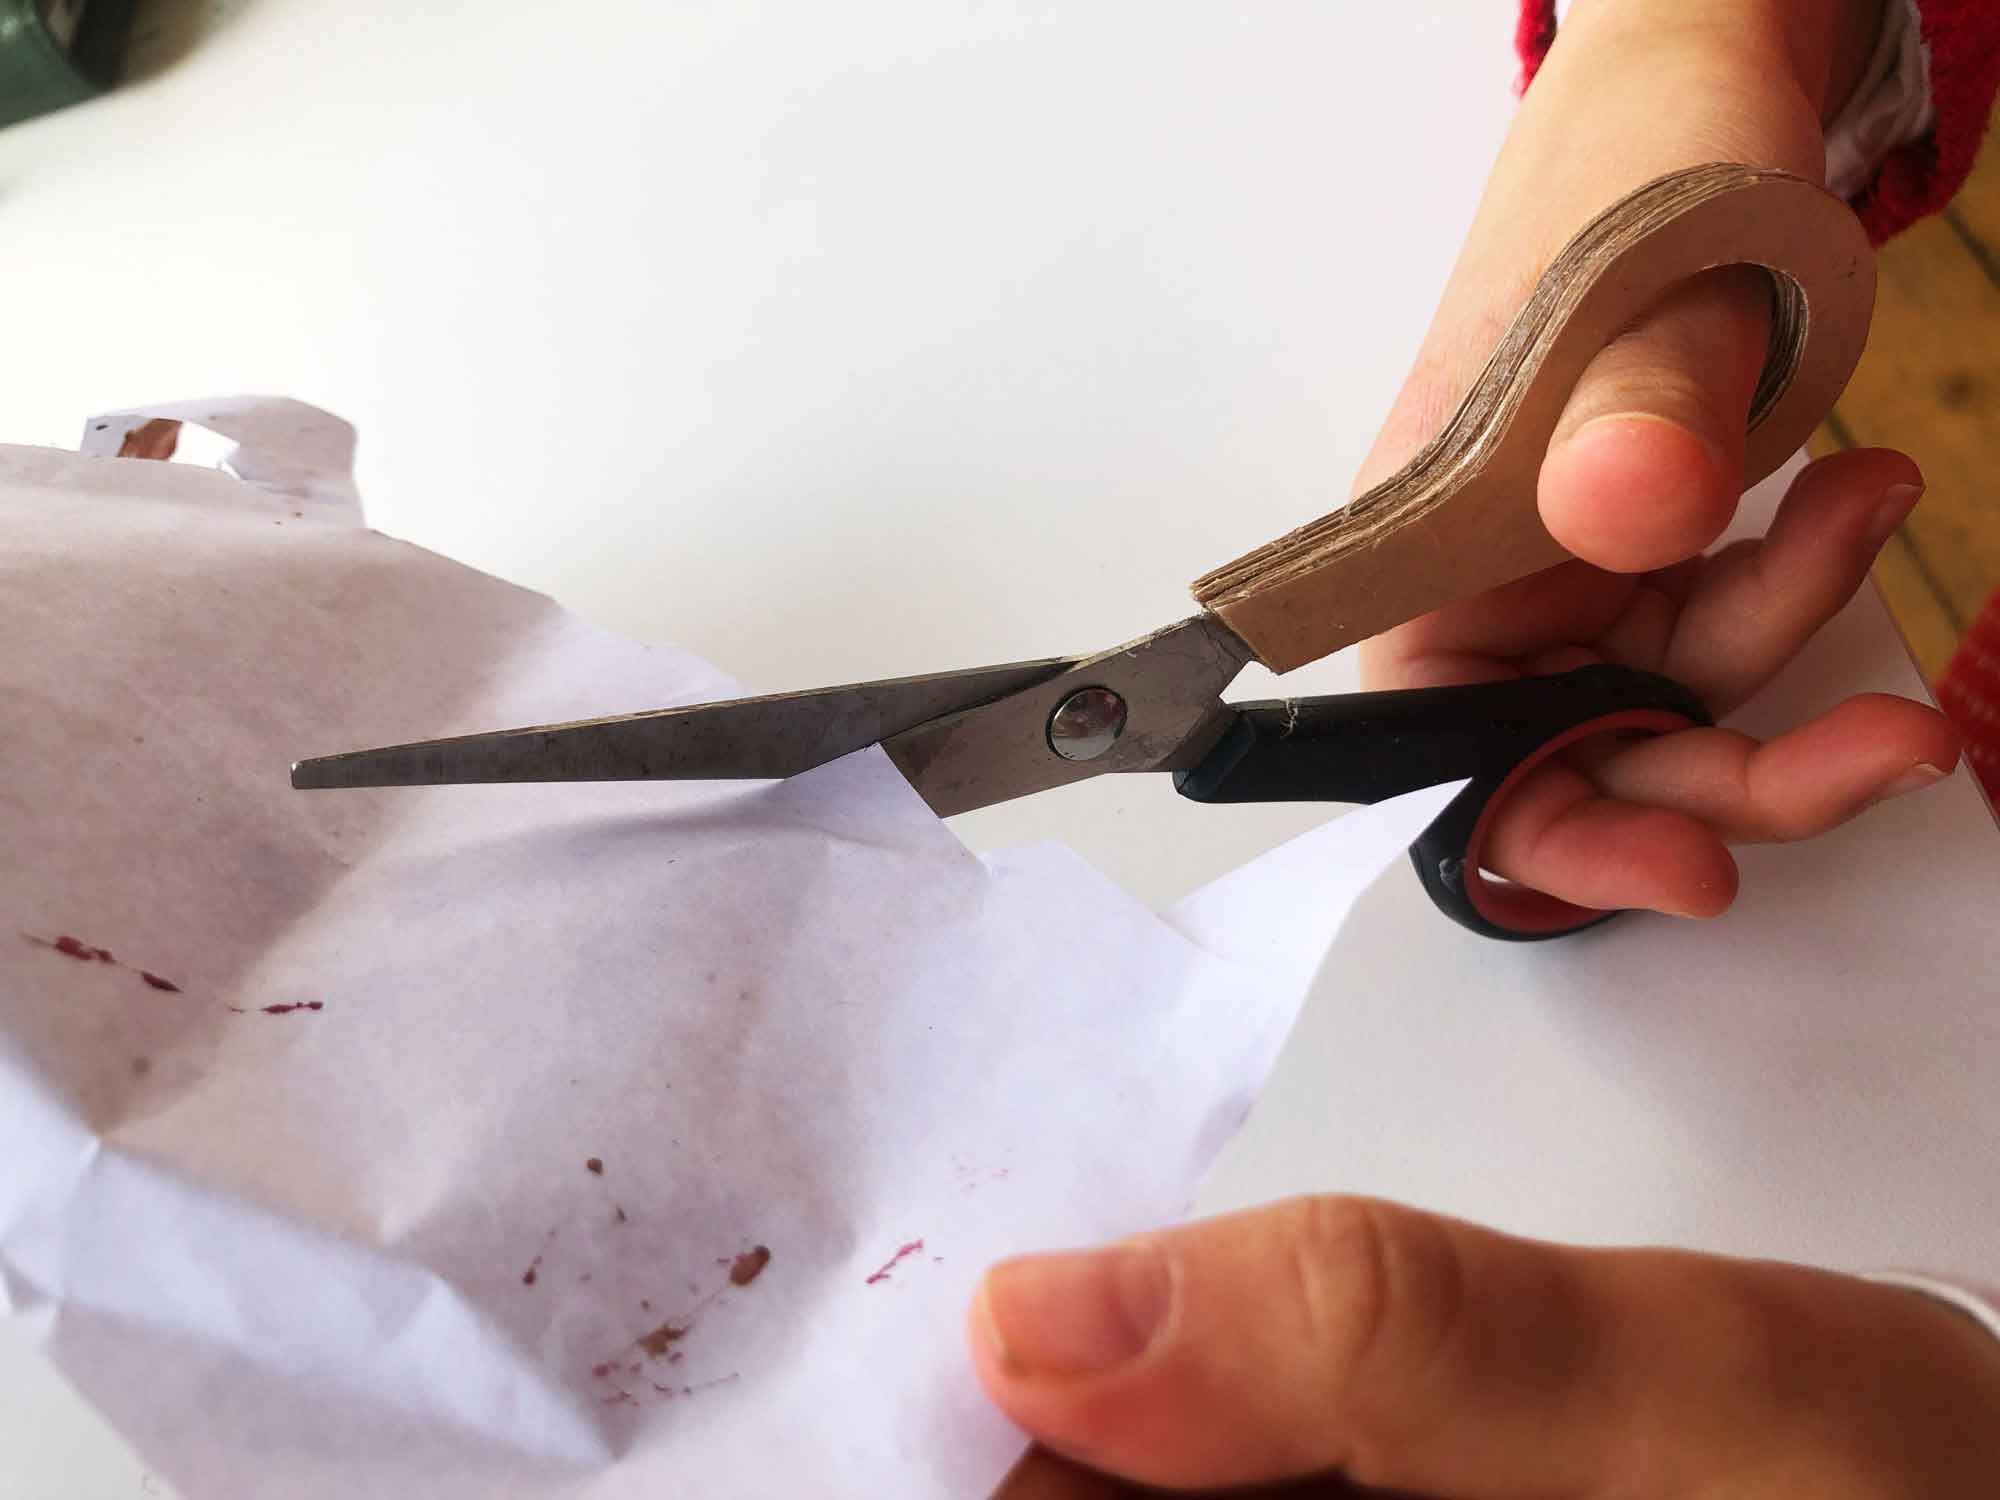
Using wood as a material would be my first choice but it would take me a while to carve so I thought cardboard could be a good alternative. The carton that held shop bought mushrooms was ideal as it was thin enough for me to cut using another pair of scissors. I could have used a thicker cardboard cutting with a stanley knife but liked the idea of building up the layers, rather like plywood. A simple trace around the handle that wasn't broken was done several times, and cut out.
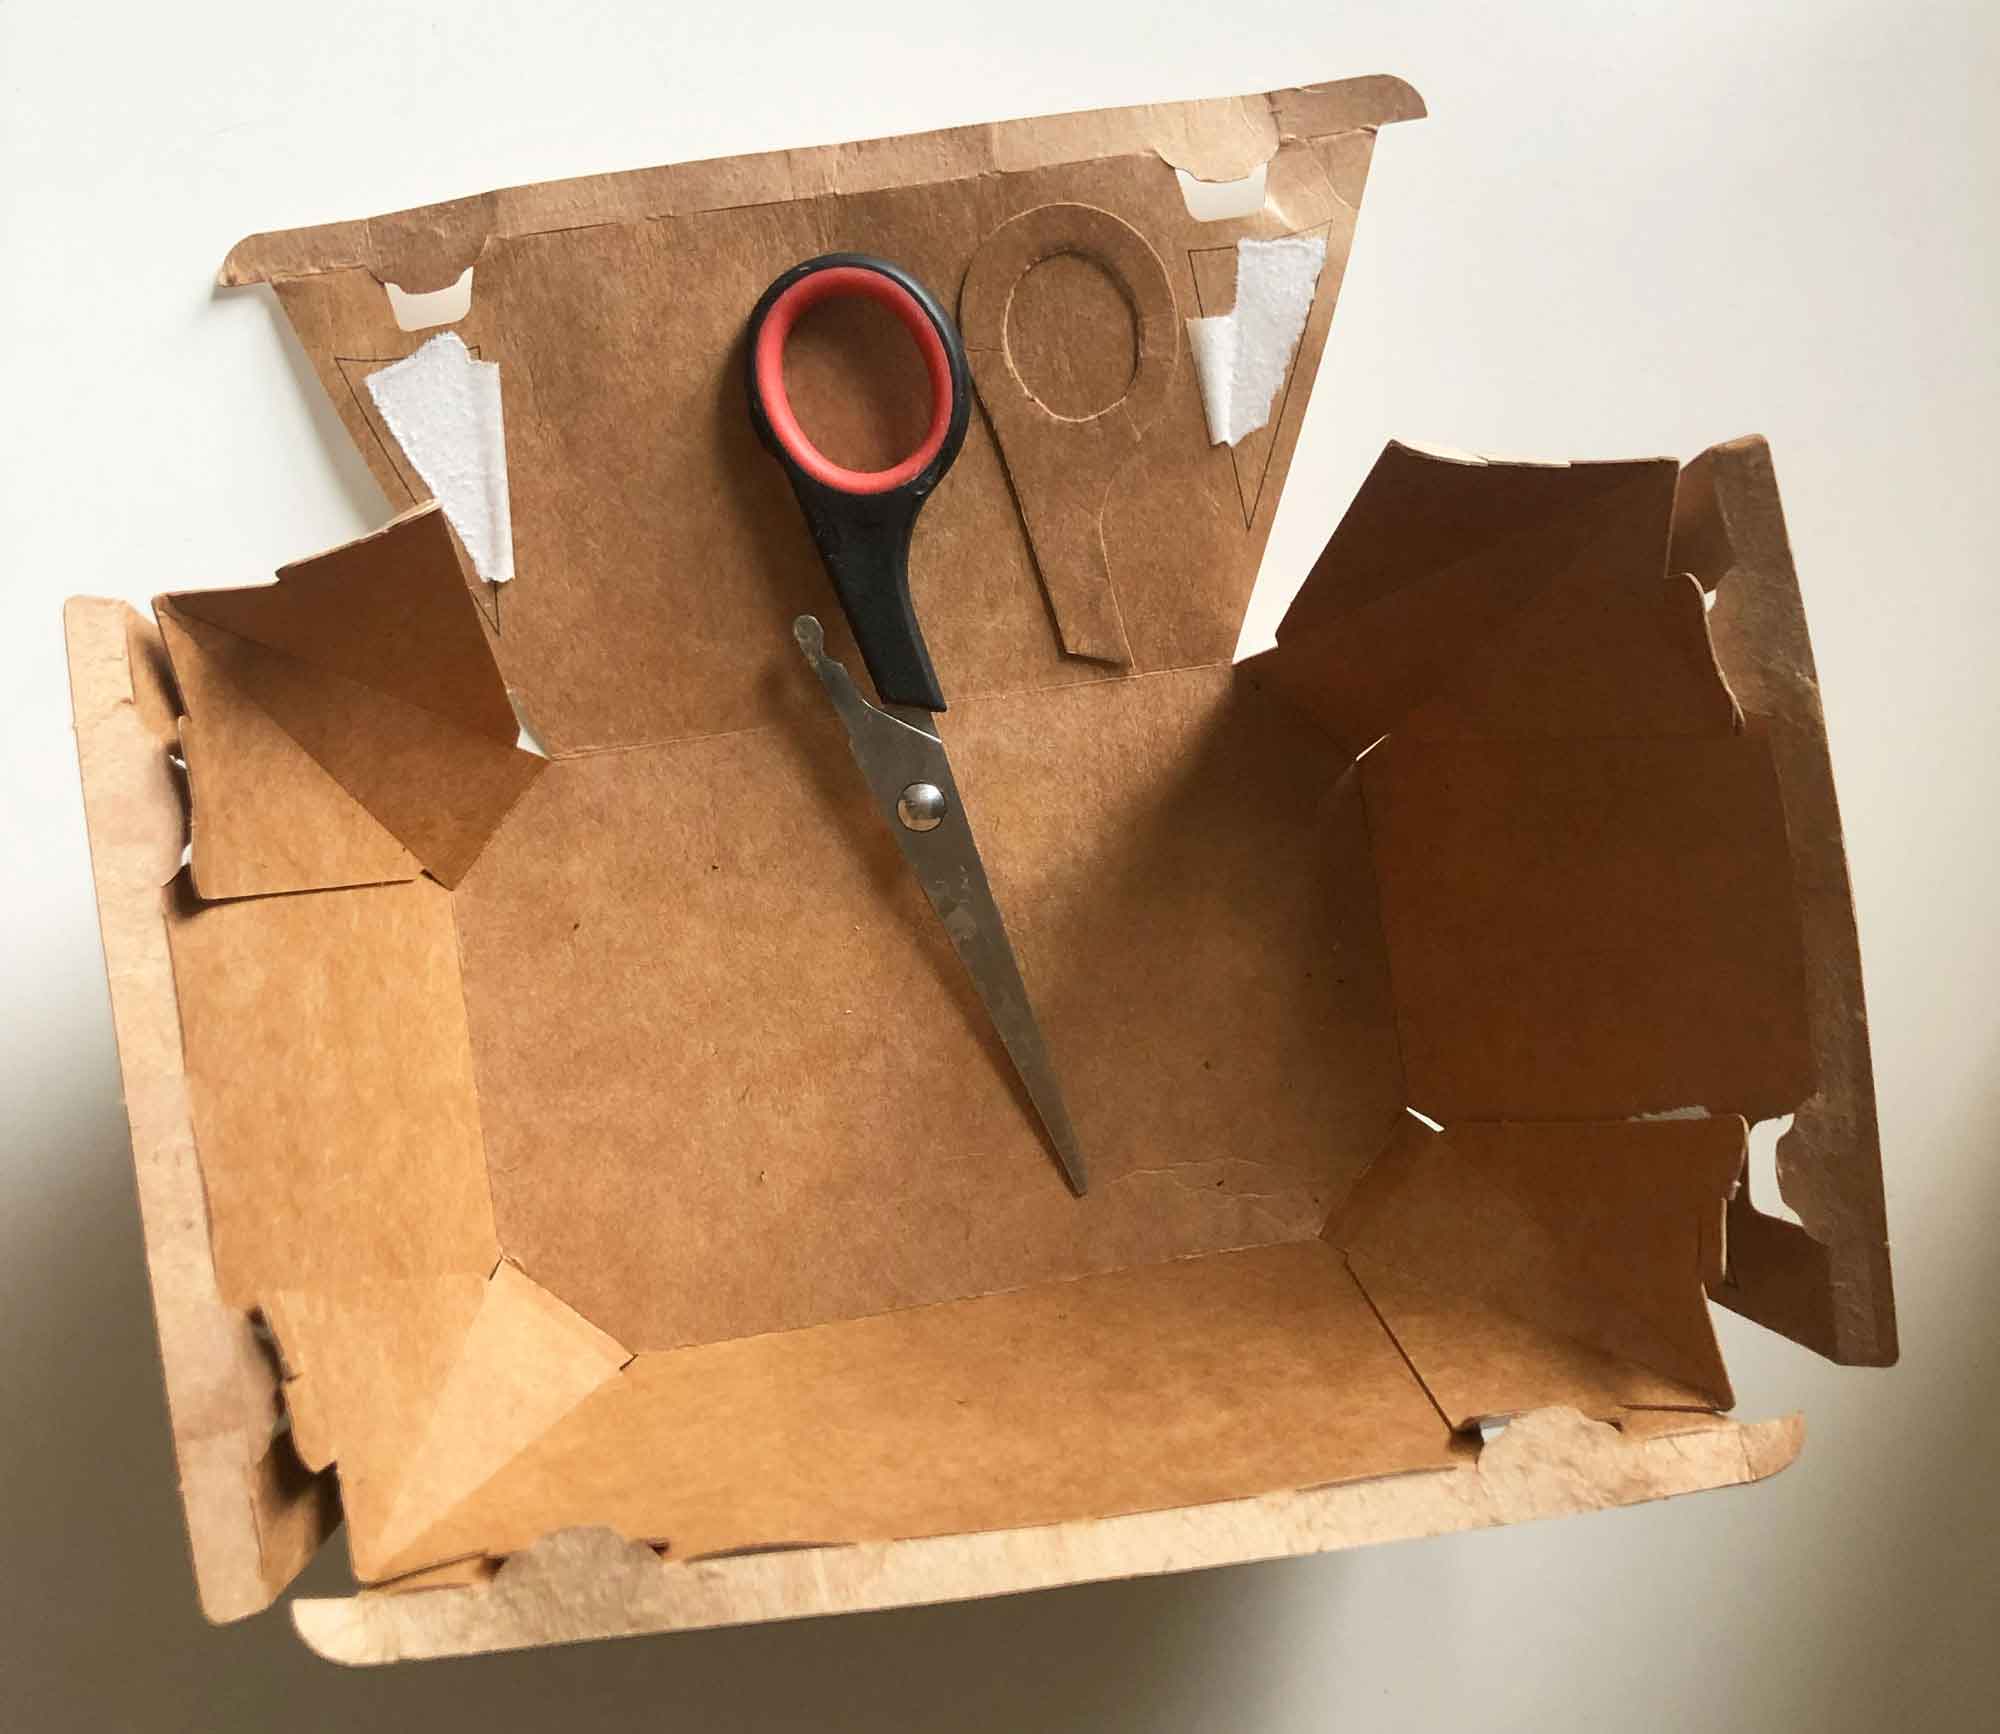
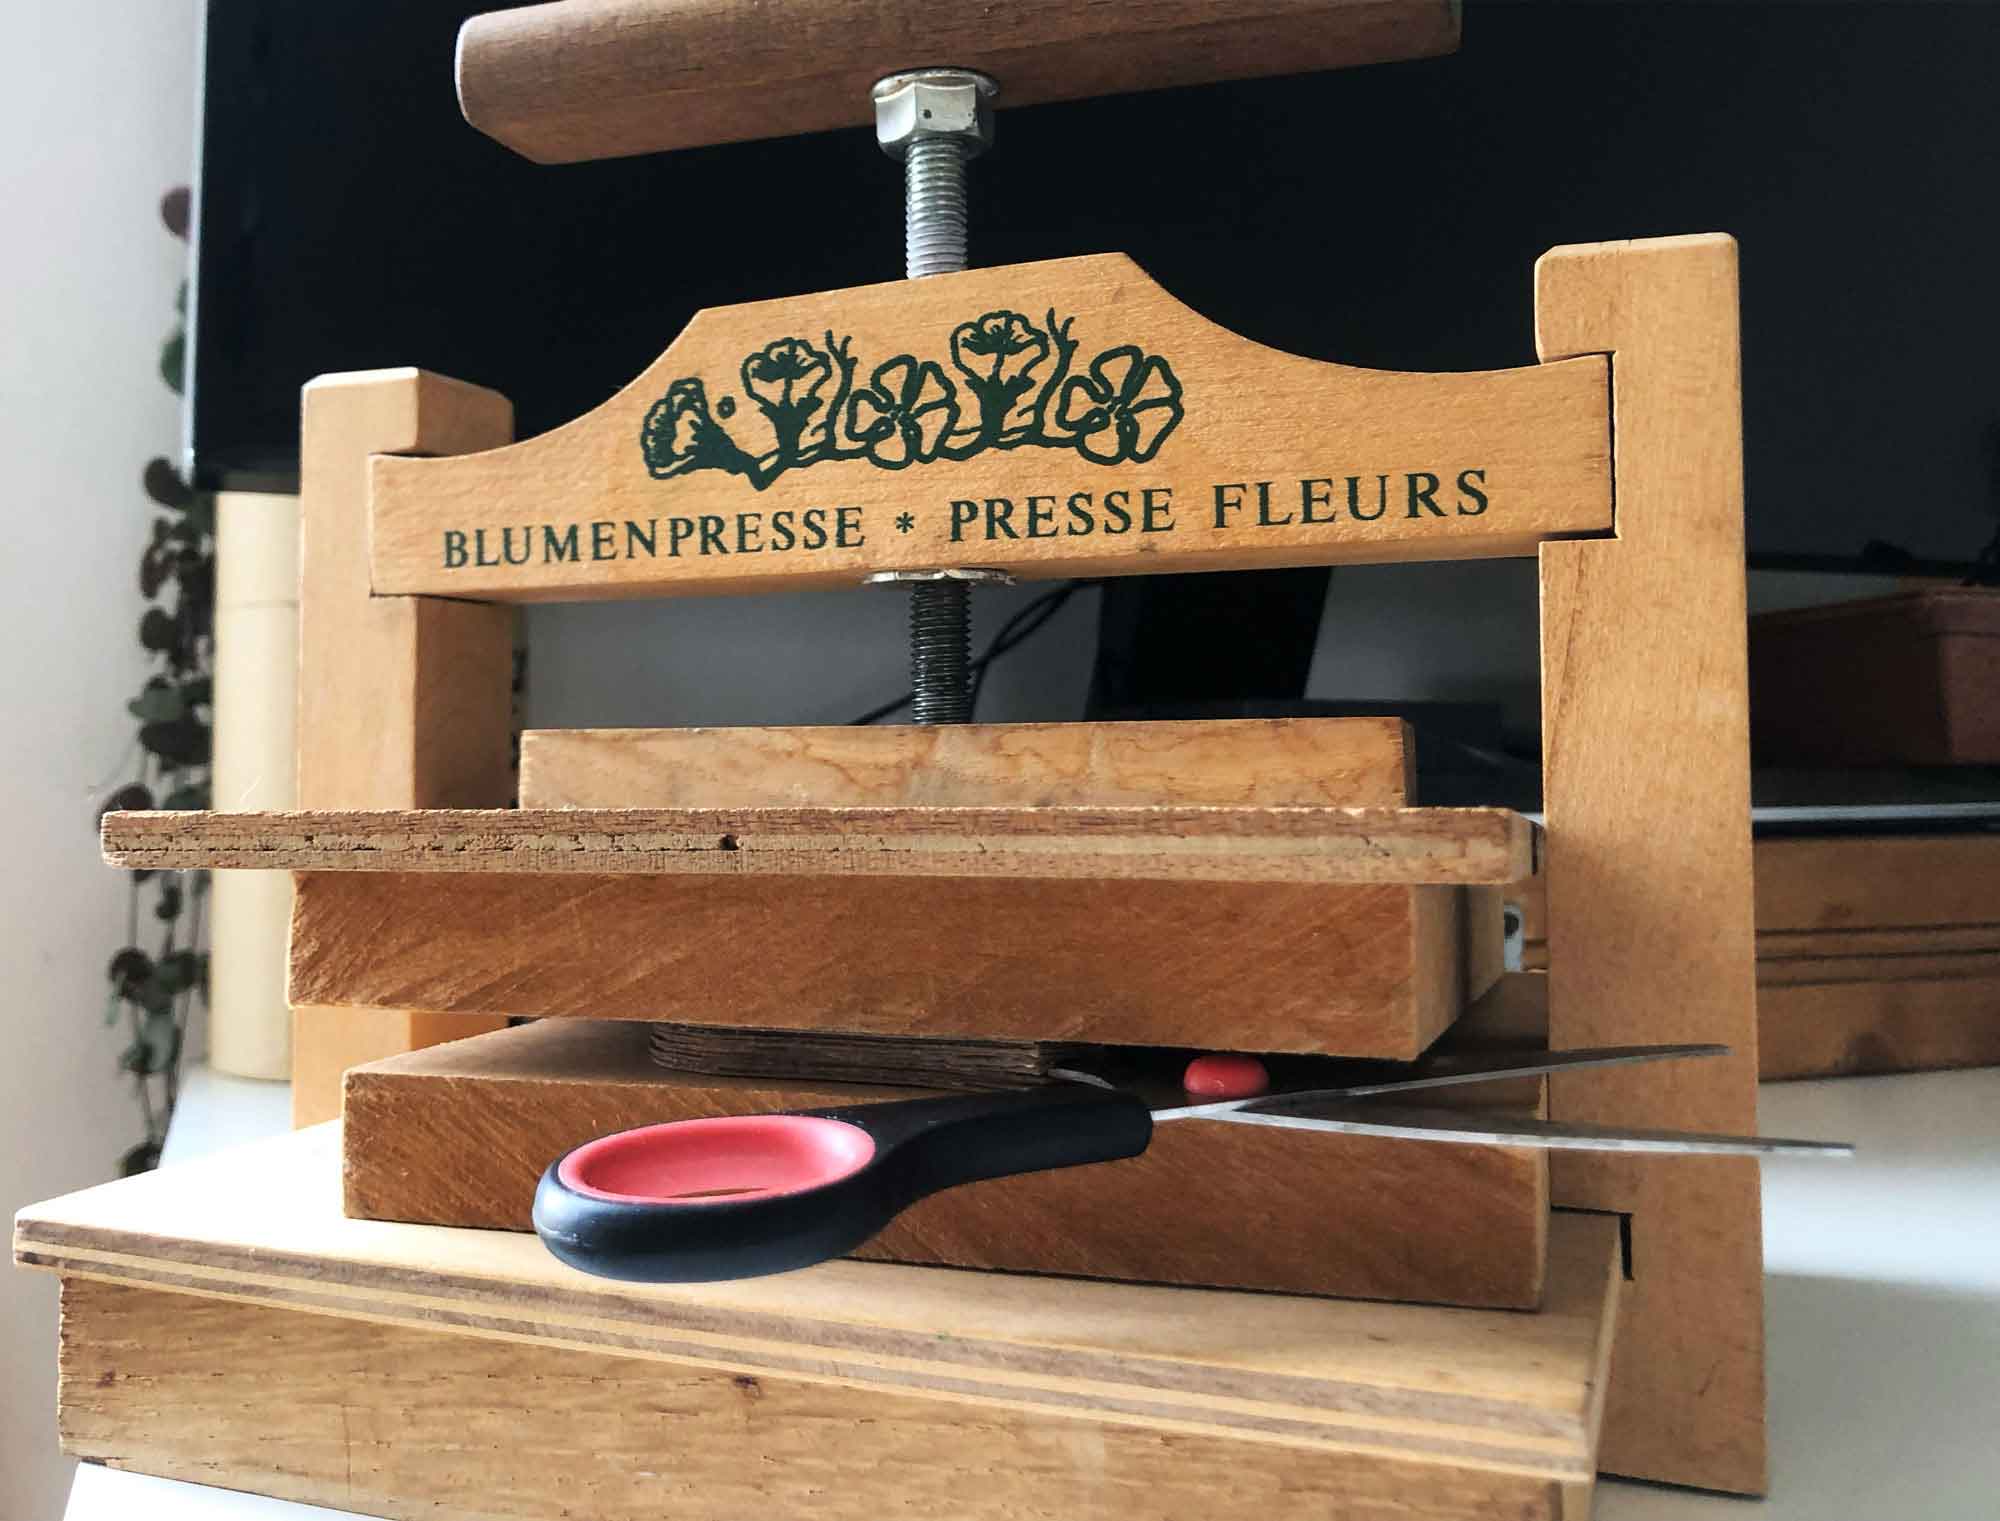
There were 8 layers altogether and the middle 2 had a portion cut out to fit the scissor part. PVA glue was brushed on each layer and clamped down with a press.
Conclusion:
Altogether this project took less than a couple hours (plus some drying time) using materials I had at hand, and was deeply satisfying that I could involve my kids in the making as all materials and techiques were safe, and the scissors could be functional again.
...And I think looks better.